In a world where even your pet goldfish can have a social media account, it’s time to step up your home security game. Home security cameras aren’t just for the tech-savvy anymore; they’re a must-have for anyone who wants to keep an eye on their castle—or at least the pizza delivery guy. With the right installation, these little gadgets can turn your home into a fortress, minus the moats and drawbridges.
Imagine being able to check in on your home from anywhere, whether you’re at work, on vacation, or just hiding from your in-laws. Installing security cameras can give you peace of mind while adding a touch of modern flair to your space. So let’s dive into how to set up your very own high-tech surveillance system and keep those pesky intruders at bay—because who needs unwanted guests when you can just binge-watch your favorite shows instead?
Understanding Home Security Cameras Installation
Home security cameras installation involves multiple steps that ensure effective monitoring and protection. First, assess the property to identify strategic camera locations. Areas such as entrances, driveways, and backyards require coverage to deter intruders.
Next, choose between wired and wireless camera systems. Wired systems offer reliability but require more installation time. Wireless options, however, provide flexibility and easier setup.
Select appropriate camera types based on security needs. Indoor cameras monitor common areas, while outdoor cameras withstand weather conditions. Options like PTZ (pan-tilt-zoom) cameras allow users to adjust camera angles and focus on specific areas.
Ensure cameras integrate with a central home security system. Many modern systems offer cloud storage, allowing users to access recorded footage remotely. This feature enhances convenience and monitoring capability.
Installation typically involves mounting cameras securely. Use hardware that withstands force and discourages tampering. Furthermore, consider wiring management to maintain a neat appearance around the property.
Test camera functionality after installation. Verify recording quality, motion detection settings, and live feed access. Fine-tuning camera angles maximizes coverage and minimizes blind spots.
Review local laws and regulations regarding video surveillance. Some areas may require notification for video recording in public spaces. Adhering to these guidelines ensures compliance while protecting privacy.
Choose a reliable power source for cameras. Options include battery-operated units or those powered through electrical outlets. Each option has advantages, depending on camera placement and accessibility.
Lastly, regularly maintain the system by checking camera lens cleanliness and updating software. Routine maintenance optimizes performance and ensures ongoing security.
Types of Home Security Cameras

Home security cameras come in various types, each designed for specific monitoring needs. Understanding these options helps homeowners select the best cameras for their properties.
Indoor Cameras
Indoor cameras play a crucial role in monitoring activities inside a home. Many of these devices offer features such as high-definition video, motion detection, and night vision. Placement options include living rooms, hallways, and nurseries. Some models support two-way audio, allowing interaction with family members or pets. Others integrate with smart home systems, enhancing convenience. For optimal coverage, homeowners can choose cameras with pan-and-tilt functionality.
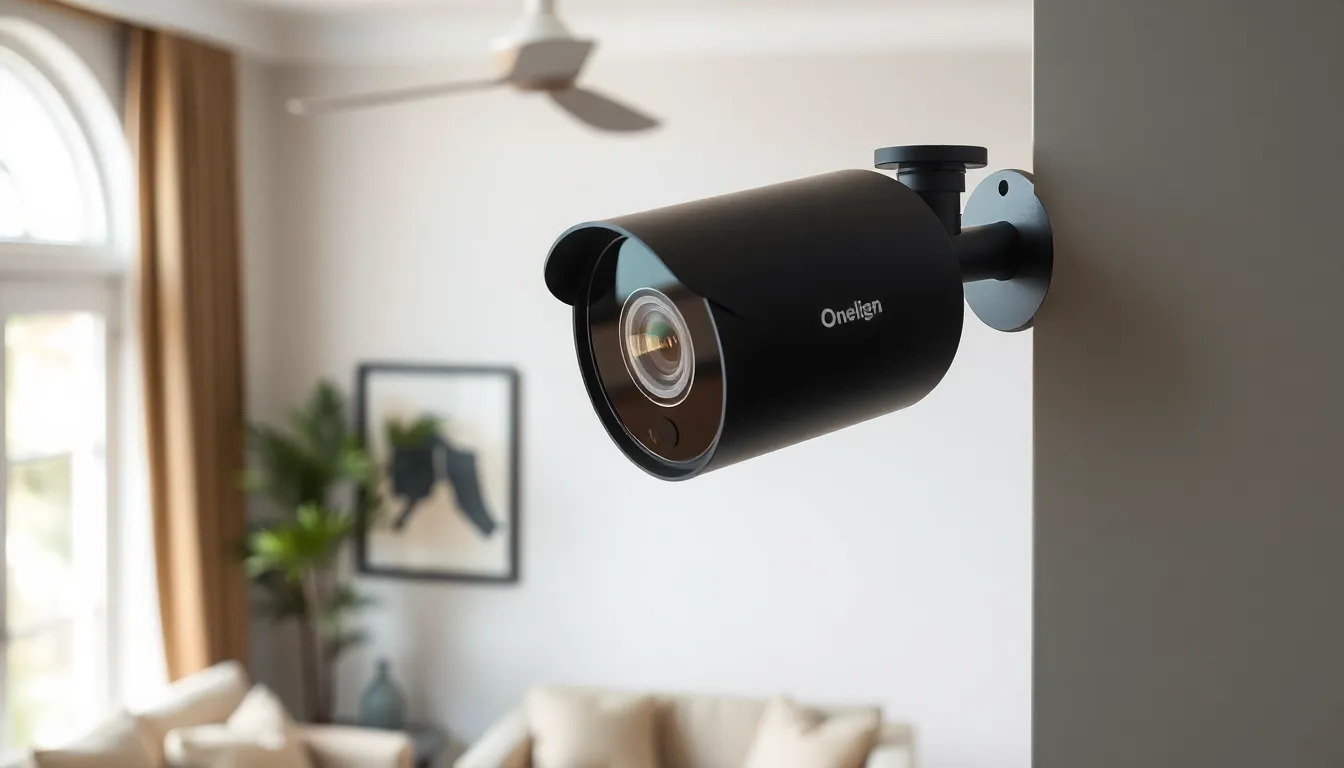
Outdoor Cameras
Outdoor cameras are essential for protecting property from external threats. Typically, these cameras boast weather-resistant designs and advanced low-light capabilities. Potential placement areas include doorways, garages, and backyards. Many outdoor cameras feature motion sensors that trigger alerts when motion is detected, providing real-time notifications. Some models include floodlight integration to illuminate dark areas, increasing visibility. Choosing cameras with wide-angle lenses offers broad coverage, ensuring fewer blind spots in surveillance.
Preparing for Installation
Preparing for home security camera installation involves careful planning and organization. To achieve the best results, focus on selecting suitable locations for camera setup and gathering the right tools.
Choosing the Right Locations
Identify strategic spots for camera placement to maximize coverage. Entrances and driveways rank high on the priority list, as they capture potential intruders. Living rooms and hallways serve as vital indoor monitoring zones. When evaluating locations, consider factors like visibility, lighting, and accessibility. Ensure cameras face areas of interest without obstructions. Prioritize wide-angle lenses for broader coverage, minimizing blind spots in critical areas.
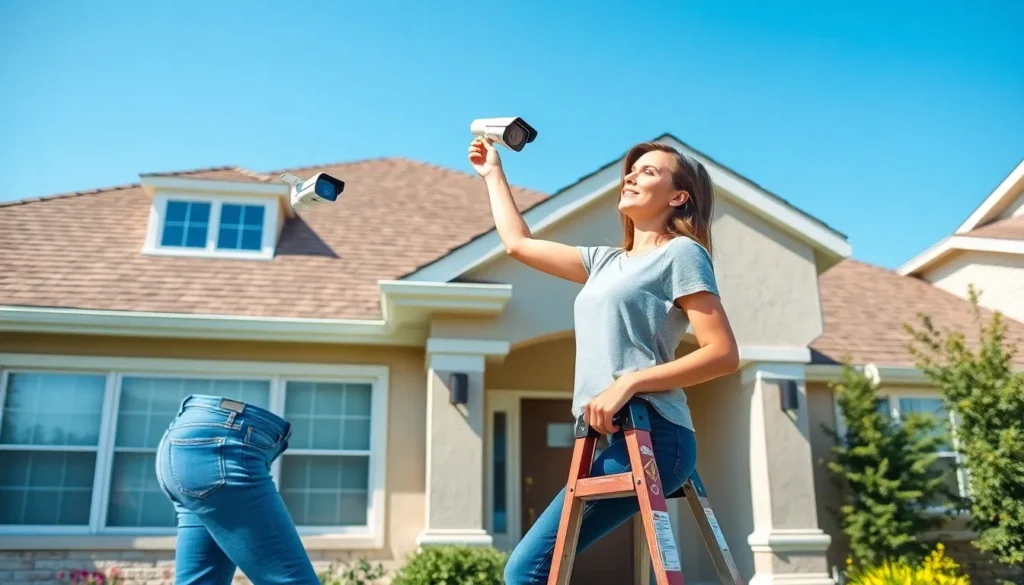
Gathering Necessary Tools
Collect essential tools before starting the installation process. A drill and screws facilitate secure mounting of cameras. Screwdrivers are necessary for assembly and adjustments. A ladder allows access to elevated areas, such as roofs or upper stories. Additionally, cable management tools streamline wiring for wired systems. Prepare a measuring tape to establish precise distances between cameras. Assuming wireless systems are used, a smartphone or tablet ensures seamless setup and configuration of camera settings.
Installation Process
The installation process for home security cameras involves a few essential steps to ensure optimal placement and functionality.
Mounting the Cameras
Select camera locations based on visibility and coverage first. Entrances and driveways often need attention for maximum surveillance. Mount brackets securely to walls or ceilings. Aim for a height between 8 to 10 feet, which helps capture a wide field of view while avoiding tampering. Use the included screws and anchors for stability. Securely position cameras at an angle to avoid obstructions. Ensure there’s protection from harsh weather for outdoor units by utilizing awnings or overhangs where possible.
Connecting to Wi-Fi
Establishing a reliable Wi-Fi connection is crucial for functionality. Place the camera within range of the router to avoid connectivity issues. Connect the camera to the home network using the manufacturer’s app or software. Follow the on-screen instructions, ensuring to input the correct Wi-Fi password. Check signal strength during initial setup; weak signals may compromise video quality. Once the connection is established, test the camera’s live feed through the app to confirm everything works as intended.
Testing and Troubleshooting
Testing and troubleshooting are crucial after installing home security cameras to ensure they function effectively.
Checking Camera Angles
Check camera angles for optimal coverage. Each camera should capture all entry points and blind spots. It’s important to adjust the camera views to eliminate any obstructions from furniture, trees, or walls. Review the live feed to confirm that vital areas are monitored clearly. Minor adjustments can make a significant difference in overall surveillance effectiveness. Use the manufacturer’s app to pan or tilt the camera if applicable, ensuring the coverage remains comprehensive and unobstructed.
Resolving Connectivity Issues
Resolving connectivity issues can enhance system reliability. Begin by verifying the Wi-Fi signal strength at the camera location. Weak signals may cause disruptions in video streaming. Move the camera closer to the router if necessary or consider using Wi-Fi extenders. Resetting the camera can also rectify temporary glitches. Ensure that firmware is up to date, as updates often fix bugs and improve performance. Review the manufacturer’s guide for troubleshooting steps to maintain a stable connection.